Zebra nail files are a must-have for any salon, distributor, importer, or other Business to Business (B2B) professional.
If you want to purchase them from a third-party supplier, understanding the advantages of zebra nail files and
their production process is crucial in making an informed decision. Zebra nail files are a type of tool used in beauty
salons to shape and smooth the edges of nails. They are made from two abrasive surfaces; one is typically coarse grit,
and the other is finer. Zebra nail files are a trendy choice among salon owners, distributors, and importers who
specialize in importing, re-selling, or providing high-quality beauty products. Made from durable materials, t
hese nail files have various advantages that make them the go-to choice for many businesses.
But how exactly does one produce a zebra nail file? Let’s take a closer look.
What are classic zebra nail files?
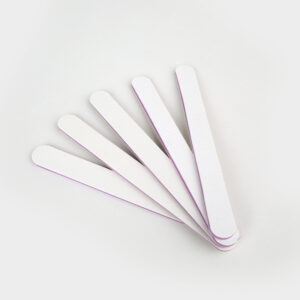
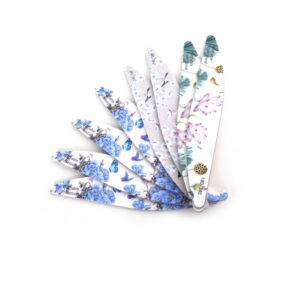
Zebra nail files are double-sided nail files that come in two standard sizes (180/240 100/180 grit).
A zebra nail file has one side with medium-grade sandpaper for filing and shaping nails and another with fine-grade sandpaper for buffing nails. They provide a convenient way to prepare nails before painting or polishing
The Production Process for customized Zebra Nail Files
Producing a zebra nail file is easier than it may seem. First, the main component of the file,
which is usually made from Sandpaper+PS board+Eva material, must be cut into the desired shape and size
for the finished product. This is then combined with a plastic handle or base that helps to provide stability
when filing nails. The handle can also be decorated and customized with any logos or images you wish to include on your product.
Next, the zebra nail file’s two components must be connected using strong adhesives or rivets.
Once they are securely attached, they are ready to be tested for quality assurance. This involves ensuring that
there are no defects in either component of the file and that the connection between them is strong enough to
last through repeated use. If any problems are detected during this process, they must be corrected before
shipping out to customers.
There is 6 steps to produce a custom zebra nail files: 1st step, sand planting which is to get the best quality
sandpaper like 100/180 180/240 240/2480 ,in this process, custom grit is finished. 2nd step, decal. Eg, for
zebra nail files, its material is PS board+EVA+emery we need to put these together. 3rd step Punching,
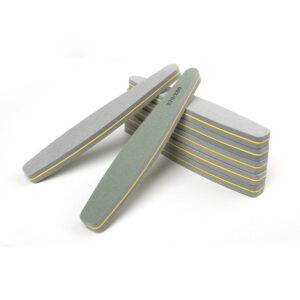
branded nail files customer like different shape like half moon, straight, banana etc—In these punching produces,
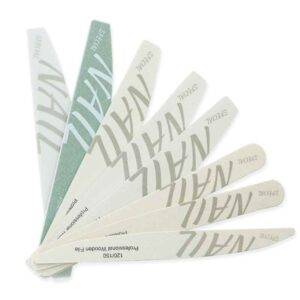
we get our private label nail files shape. 4th step–UV printing custom offer a logo or AI printing format
we will use Shiny printing machine to do UV printing or Silk printing logo for their branded private label nail file.
Step5,all nail files will be into AQL standard inspection for general it take AQL 4.0: For major it take AQL 2.5. Step6,
package—it need use outside cartons for package if all is finished. It will need to add inner box and
outside box for shipment protection. Through the above 6 steps, a premium branded private label nail files is finished.

